Why Does A Weed Eater Featherlite Stop Spinning And How To Fix It?
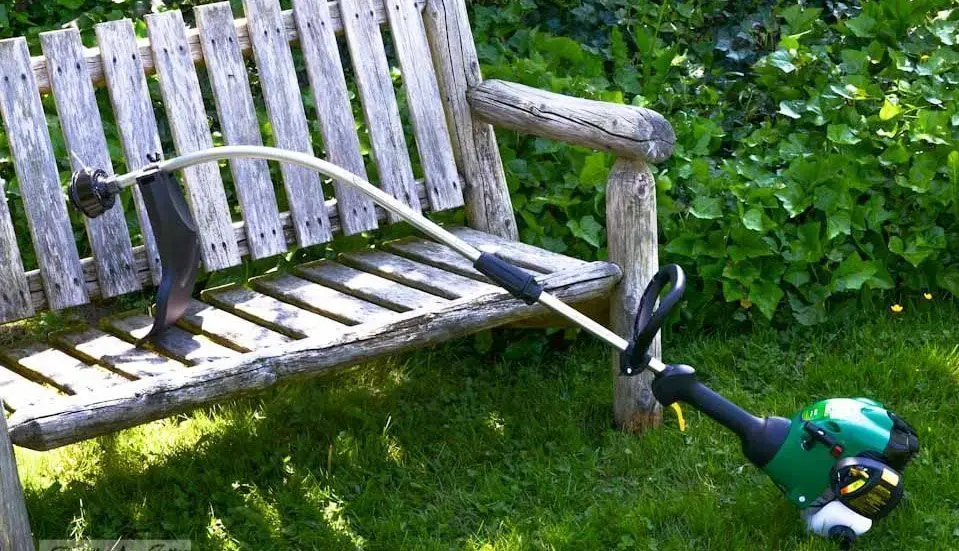
Though stringy weeds could block a trimmer head they are not hard to remove. If the case is of the head not spinning on the Weed Eater Featherlite trimmer of yours the difficulty might be as uncomplicated as debris building up in the space amid the shaft and the head. If this is not where the problem lies something is wrong with the connection between the flexible drive shaft, trimmer head and engine flywheel.
Other Problems Apart from a Jammed Head Might Be
A gearbox that is not functioning because of being jammed up small rocks or dirt causing plastic gears to break. On suspecting that the problem is inside the gearbox, detach it from the shaft and have it disassembled. Try to find signs of intense wear and tear and appropriately hook the gearbox up with the drive shaft.
Drive Shaft that has broken – On suspecting the drive shaft have it out from inside the tube and check for bends or cracks and lubricate it appropriately.
Crankshaft or flywheel problems – On the starter rope not spinning and the engine not cranking, the most likely problem is in the crankshaft or flywheel. The flywheel teams up with crankshaft stub via a part, a key. On the trimmer having had a drop or having been mishandled the key could bend and the flywheel will not spin on crankshaft. On this happening nothing can shift on the engine.
Steps on Fixing a Jammed Head
Step 1
Turn the Weed Eater Featherlite trimmer off and take out the wire from the spark plug. Turn over the machine to examine the head, mainly the gap that lies amid the rear of the head and drive shaft. Make certain that you cut all of the weeds and additional debris you notice with the help of a utility knife.
Step 2
Unbolt trimmer head to separate it from drive shaft to have the gear mechanism serviced. The mechanism interconnects with the ending of the flexible shaft, and it stays attached to the threaded rod meant for holding trimmer head. The nut meant to hold this machinery in position fits securely around the ending of the shaft. You have the option of dislodging it from the shaft by using a hammer for tapping it.
Step 3
Unbolt the nut from threaded rod with the help of a wrench, and separate the gear assembly by dragging it. It is likely that you will find weeds and grass not allowing the gear to turn freely. Do away with the weeds and the grass, and grease each and single part. Get the mechanism together, by striking it into drive shaft and bolting the trimmer head on.
Step 4
Rotate the trimmer if you find that the head is still not spinning. Put down the trimmer on an even surface while letting the head hang over the edge of the surface.
Step 5
Make certain that you separate the throttle lever from drive shaft. This can be done by unbolting the retaining bolts and disconnecting both the halves of the throttle lever. However it is vital that you track the lever’s orientation to be able to have it replaced with the identical orientation.
Step 6
Make the engine housing the couple of screws that are present on both the sides of the drive shaft looser by employing a screwdriver for the job. If the trimmer you have comes without a clutch, tale hold of the shaft with any one of your hands and thrust it into the housing even as you heave the starting rope slowly making use of the other hand. Make the screws tighter. Make use of a diverse procedure for a trimmer that comes with a clutch. Having had loosened the screws, heave the shaft out to some extent. Turn around the trimmer head for brining it in line with the supple shaft with clutch drum. Thrust the shaft into engine housing after the clutch and the shaft have been aligned. Make the screws tighter to tighten the parts in their respective places.
Step 7
Get the throttle lever replaced.
Things That You Are Going to Need
- Hammer
- Utility knife
- Lubricant
- Wrench
- Screwdriver
Guideline
Make certain that you get the trimmer serviced at a shop if you find that the head is still not spinning after your attempt to get it fixed. The case might be of the clutch or drive shaft requiring replacement. Despite the fact that a person might be able to replace such items on his own it must be noted that there are numerous minute parts that are involved in this process.
Verdict
Now that you know how to fix a jammed head on your Weed Eater FeatherLite That Will Not Spin you can have a look at the videos on you tube for clearing any confusion that you might still have.
The other articles may you concern, as this is by:
The thing that really stops it from spinning is when the entire plastic sleeve lining in the shaft MELTS and locks your spinning shaft solid… and try to find a replacement… NOT… Motor still runs great, but I can’t use it!